
The guide
Shooting video on a phone, from settings to export
Phones make recording effortless, which is exactly why so much phone footage disappoints. The camera makes dozens of decisions for you every second. Good phone video starts when you take a few of those decisions back.
Before you press record: a two-minute prep
Wipe the lens. Phones live in pockets and hands, and a thin film of skin oil on the glass turns every light source into a hazy bloom. A soft, clean cloth fixes more “bad camera” problems than any setting.
Then check the two resources that end shoots early: free storage and battery. Video fills space quickly, especially at high resolutions, and recording keeps the processor and screen busy. Switch on do-not-disturb so a call or notification does not interrupt a take, and close apps you do not need while filming.
Pick a resolution and frame rate on purpose
Camera apps usually hide video format options in the settings menu or in small toggles at the top of the video screen. Choose them deliberately before you start, and keep them the same for every clip in the project.
Resolution. 1080p is light, quick to edit and fine for most online viewing. 4K keeps extra detail for cropping and reframing later, but uses much more storage and can make some phones run warm on long takes.
Frame rate. 30 frames per second is a common everyday choice. 24 or 25 gives slightly softer, more film-like motion if your app offers it. Reserve 60 or higher for moments you plan to slow down.
Match the lights. Under artificial light, a frame rate that suits your local mains frequency helps avoid flicker: 25 or 50 where the supply is 50 Hz, 30 or 60 where it is 60 Hz.
A sensible starting format
-
1080p for most projectsStep up to 4K when you know you will crop or need the detail.
-
One frame rate throughoutMixing rates in one edit causes stutter that is hard to hide.
-
HDR only if you will check itHDR clips can look different, or washed out, on screens and apps that do not support them.
Lock exposure and focus so the picture stops breathing
Left on automatic, a phone keeps re-measuring the scene. Pan past a window and the whole image darkens; someone walks through the foreground and focus jumps to them. In a finished video, that pumping looks amateurish.
Most camera apps let you press and hold on the subject to lock exposure and focus together. A small label or icon usually confirms the lock. Many apps also show a slider next to the focus box: drag it to brighten or darken the image without unlocking.
Expose for the most important thing in the frame, normally a face. If the sky behind a person turns pure white, that is often an acceptable trade; if the face goes dark and muddy, it is not. Moving the person so the light falls on their face beats any setting.
Some phones include a pro or manual video mode, and third-party camera apps offer similar controls on many handsets. They can be worth exploring later. For now, a lock and a little exposure adjustment handle most situations.
Hold it steady: grip, stance and support
Phones are light, which makes them easy to shake. Built-in stabilisation smooths small tremors, but it cannot rescue a jerky pan, and some enhanced modes crop the image to do their work.
Use two hands and tuck your elbows into your sides. Your body becomes the tripod.
Move slowly. Pan at half the speed that feels natural, and hold still for a few seconds at the start and end of every shot so the edit has clean places to cut.
Walk softly. Bend your knees slightly and roll from heel to toe; it absorbs much of the bounce from each step.
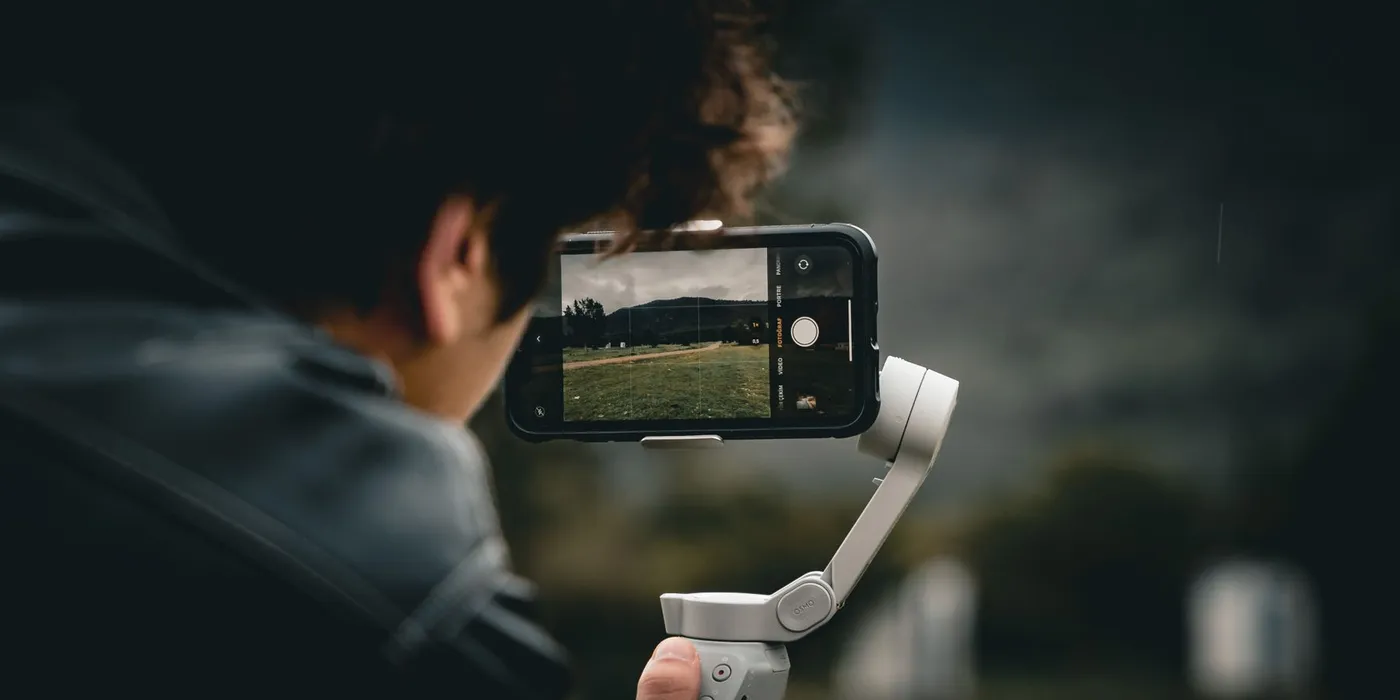
Lean on things. A wall, a table edge or a railing steadies a shot for free. A small tripod with a phone clamp is one of the most useful accessories you can own; a gimbal helps when you regularly film on the move.
Steady checklist
From free to occasional purchase
-
Two hands, elbows inCosts nothing and helps on every shot.
-
Brace on a surfaceWalls, tables, railings, a bag on the ground.
-
Small tripod and clampFor interviews, time-lapses and anything static.
-
GimbalWorth it if you often film while walking or following action.
Which lens? Making sense of multi-camera phones
Many phones carry two, three or more rear cameras, usually labelled with numbers like 0.5×, 1× and 2× or higher in the camera app.
The main camera (often marked 1×) frequently has the largest sensor, and it is usually the safest choice indoors and in fading light.
The ultra-wide fits a lot into a small room but bends straight lines and stretches faces near the edges. Keep people near the centre if you use it.
A telephoto lens, where present, flatters faces and compresses backgrounds, but in dim light some phones quietly switch to a cropped main camera instead.
Pinching to zoom between those marked steps generally means digital zoom, which enlarges pixels rather than adding detail. Walking closer is better.
Avoid changing lens mid-take: the jump in colour and sharpness is obvious. Choose the lens, then frame the shot.
Sound: the part viewers notice first
A phone's built-in microphones are designed to pick up everything around them, and they sit wherever the phone is, often an arm's length or more from the speaker. The result is distant, roomy voices with plenty of background noise.
Get closer. The single biggest improvement is shortening the distance between mouth and microphone. Even moving the phone nearer helps.
Add a microphone. A clip-on lavalier, wired or wireless, puts the mic a hand's width below the chin. Connectors and app support vary between phones, so check the accessory's compatibility notes for your model before buying.
Test and listen. Record ten seconds, play it back on headphones, and confirm the external mic is actually being used. Watch for wind, rustling clothing and humming appliances.
Listen first
Three common sound fixes
-
Mic close to the mouthClip-on or handheld, aimed at the speaker, not the room.
-
Shelter from windA foam or furry cover, or simply turn the speaker's back to the breeze.
-
Soften the roomRugs, curtains and sofas cut echo; bare kitchens and bathrooms add it.
Vertical or horizontal? Decide before you film
Phones make it natural to shoot upright, and full-screen vertical feeds reward that. Televisions, laptops and embedded players are wide, though, and a vertical clip shown there arrives with broad empty bars on either side.
Ask where the video will mostly be watched, then commit. Rotating the phone partway through a project produces clips that do not sit together comfortably in one edit.
Orientation is a delivery decision, not a style choice. Know the screen first, then turn the phone.
Vertical framing. Leave space at the top and bottom: platform buttons, captions and usernames often sit over those areas.
Horizontal framing. Use the rule of thirds. Most camera apps can display a grid overlay to help.
Unsure? Shoot horizontally at a higher resolution with the subject near the centre. A vertical crop is possible later, with some loss of detail.
Edit, then export with care
First, copy clips off the phone to a computer or cloud storage and confirm they play before deleting anything. Phones get lost, dropped and reset.
- Choose an editor. The editor built into your phone's gallery, a free mobile editing app or a desktop program all handle trimming, ordering and basic audio.
- Assemble. Put the clips in order and trim the dead seconds from each end.
- Tighten. Remove anything that does not move the video forward. Shorter usually reads better.
- Balance sound. Keep speech clear and consistent; lower music under voices.
- Add captions. Many people watch with the sound off, and captions help accessibility too.
- Export. Match the frame rate you filmed at and choose a resolution that suits the destination.
Before sharing, watch the export once on a different device. Problems with sound level and colour are easier to spot on a screen you did not edit on.

Common phone-video mistakes worth avoiding
- Filming into a window with the subject's back to the light, leaving a dark silhouette.
- Leaving exposure and focus on automatic through shots that pan or include movement.
- Pinch-zooming past the lens steps instead of stepping closer.
- Relying on the built-in microphone from across a room or outdoors in wind.
- Running out of storage or battery halfway through the important moment.
- Mixing orientations or frame rates in one project without a plan.
None of these require new equipment to fix. Start with a short piece, perhaps one minute, and finish it. Each finished project teaches you more about your own phone than any amount of reading.